Build your first workflow
Make a tiny workflow that returns a ticket ID. No apps needed.
You’ll build Ticket intake. It receives a ticket ID and gives it back: input {"ticketId":"ticket-42"}, result "ticket-42". It needs no apps, so you can finish it in a few minutes. Then you’ll grow it into support email triage.
You need permission to edit workflows in the project. Publishing needs publishing permission.
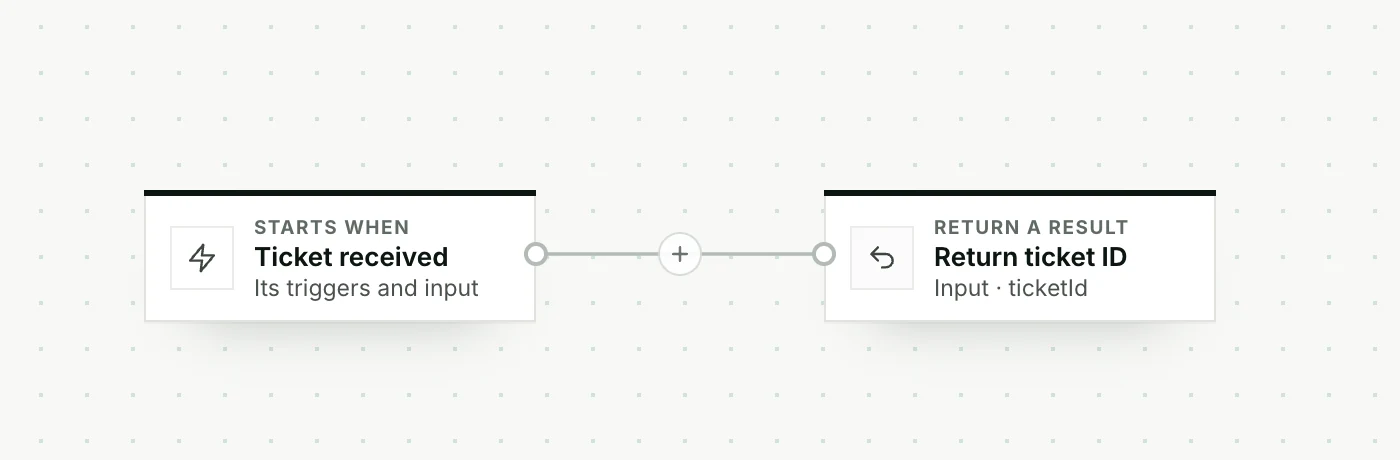
Open Workflows → New workflow
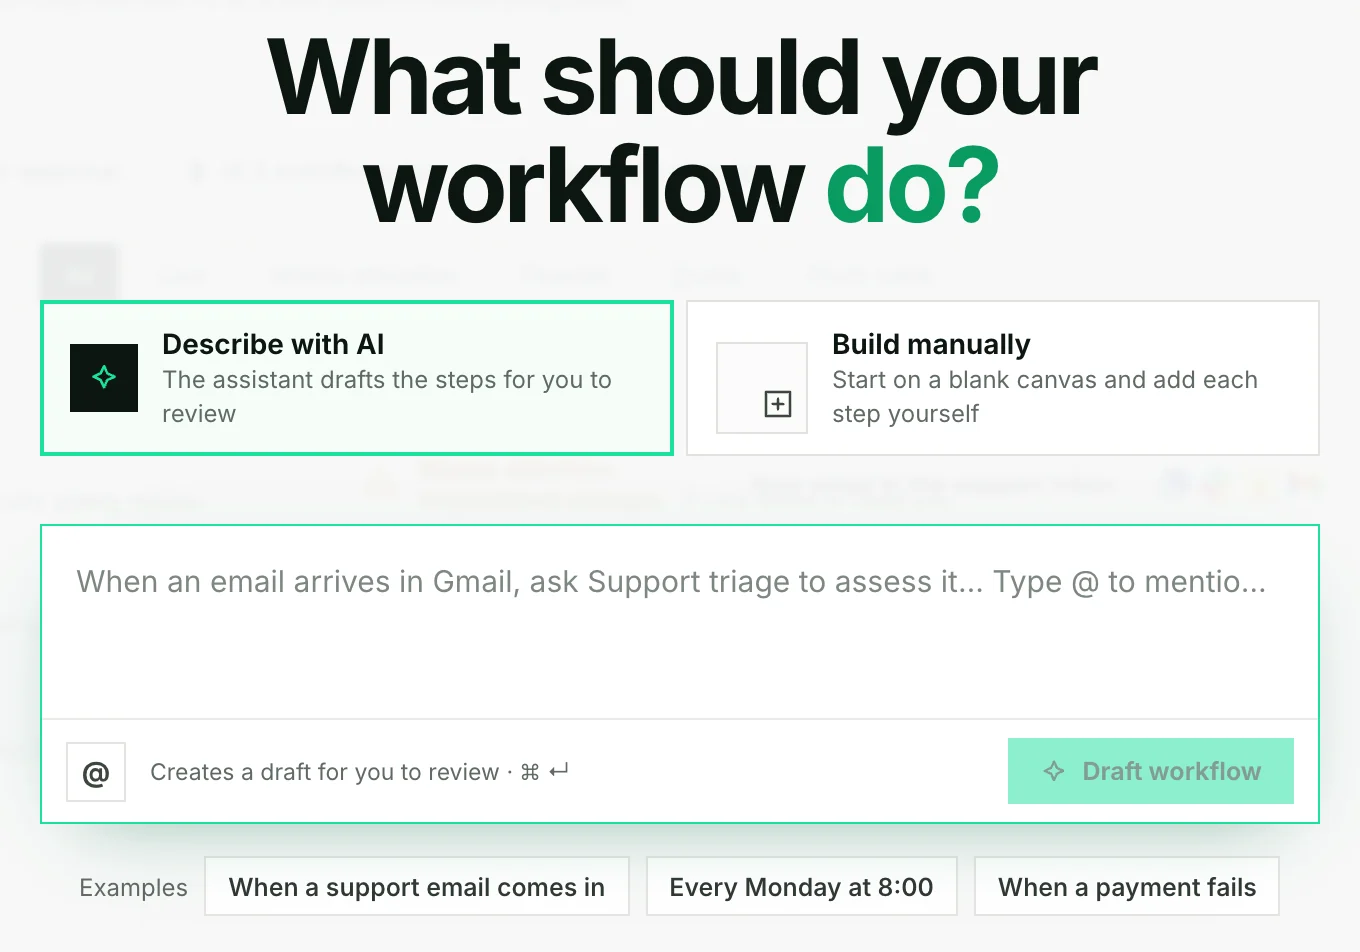
Paste this, then choose Draft workflow:
Create “Ticket intake”. Accept a required string input named ticketId.
Connect Start to Return a result, returning the ticketId input.
No apps, AI steps, code, schedule or other trigger.
Keep it as a draft for me to review.
Check the steps it proposes, then choose Keep in draft. If it’s not right, choose Discard and describe it again.
- Choose Build manually, open the blank canvas, and name it Ticket intake.
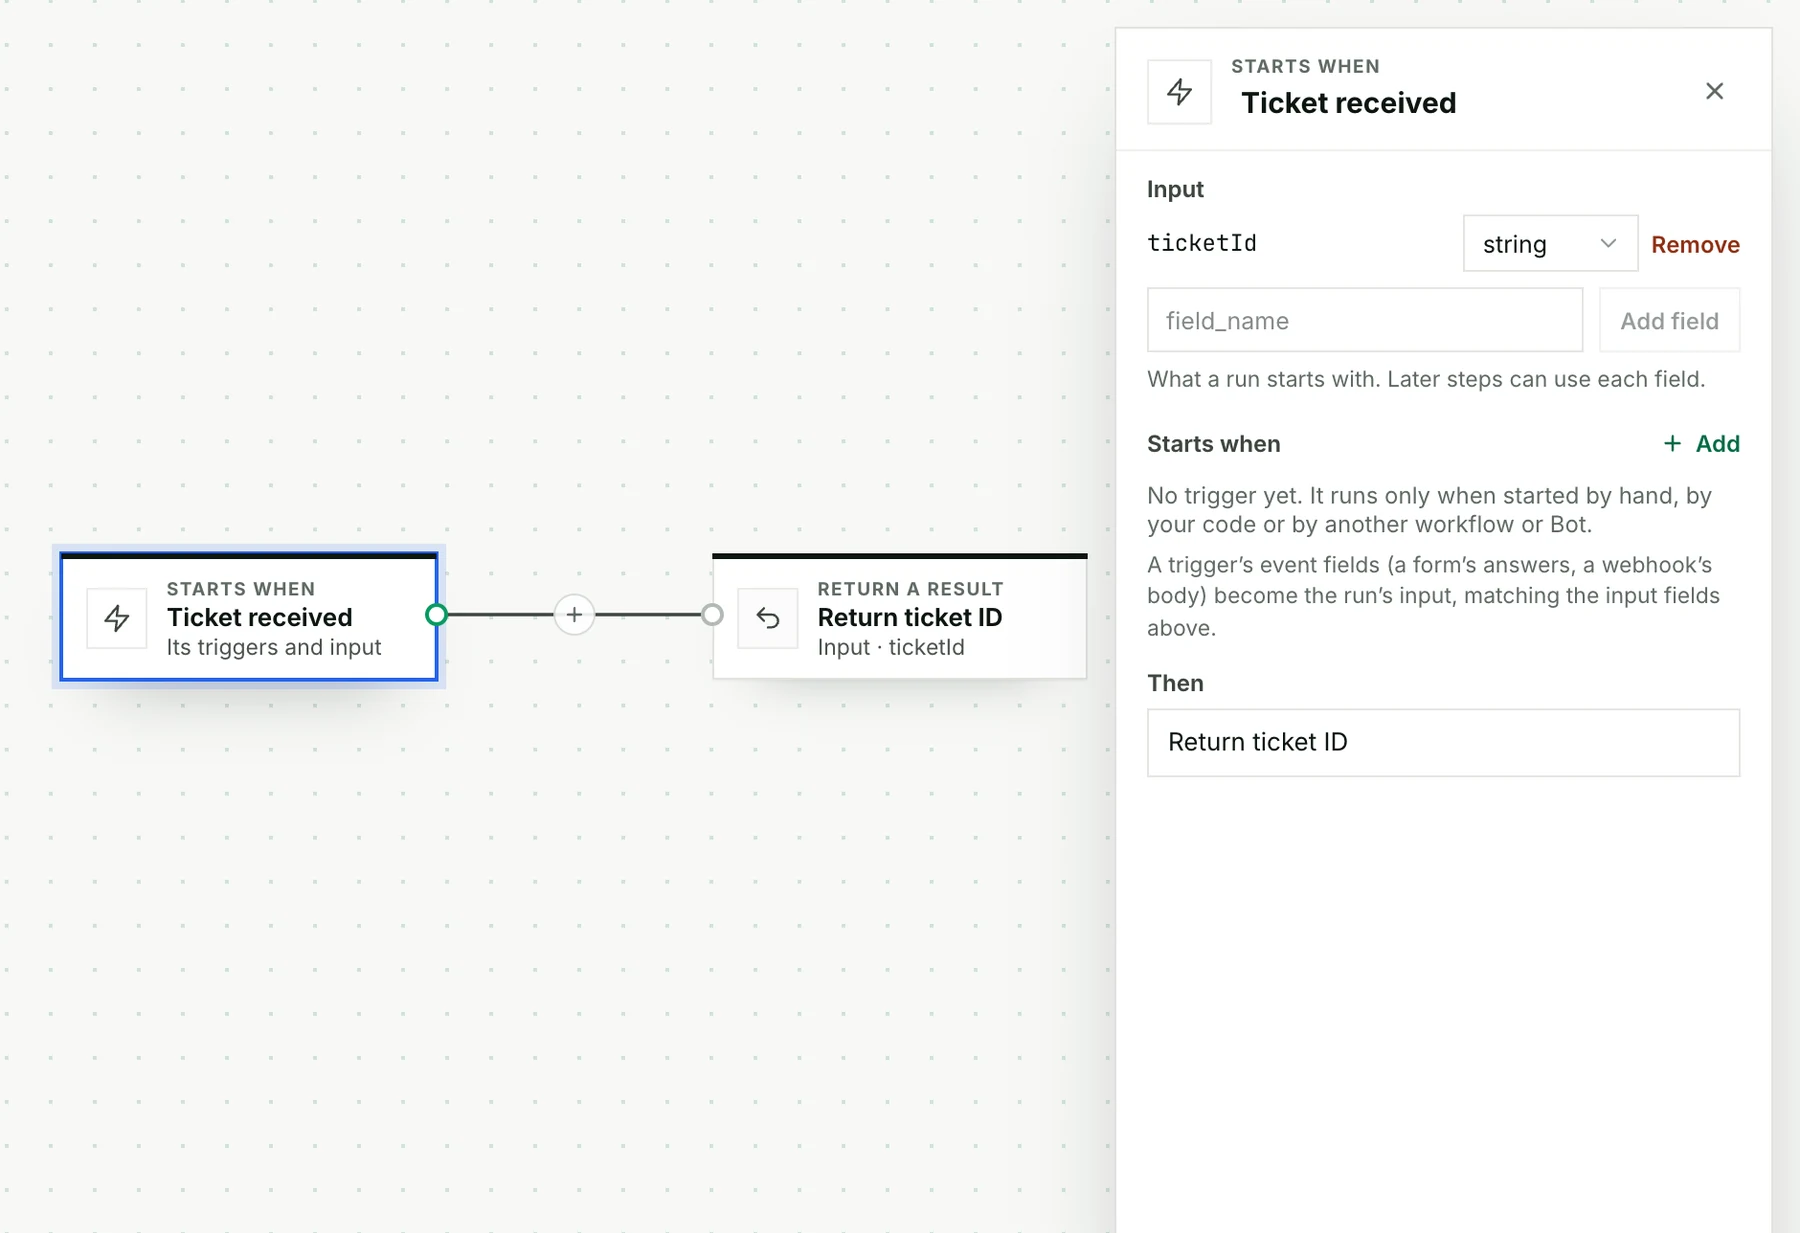
- Click Starts when. Under Input, add a field called
ticketIdwith the type string. - Choose Add step → Return a result, and connect Starts when to it.
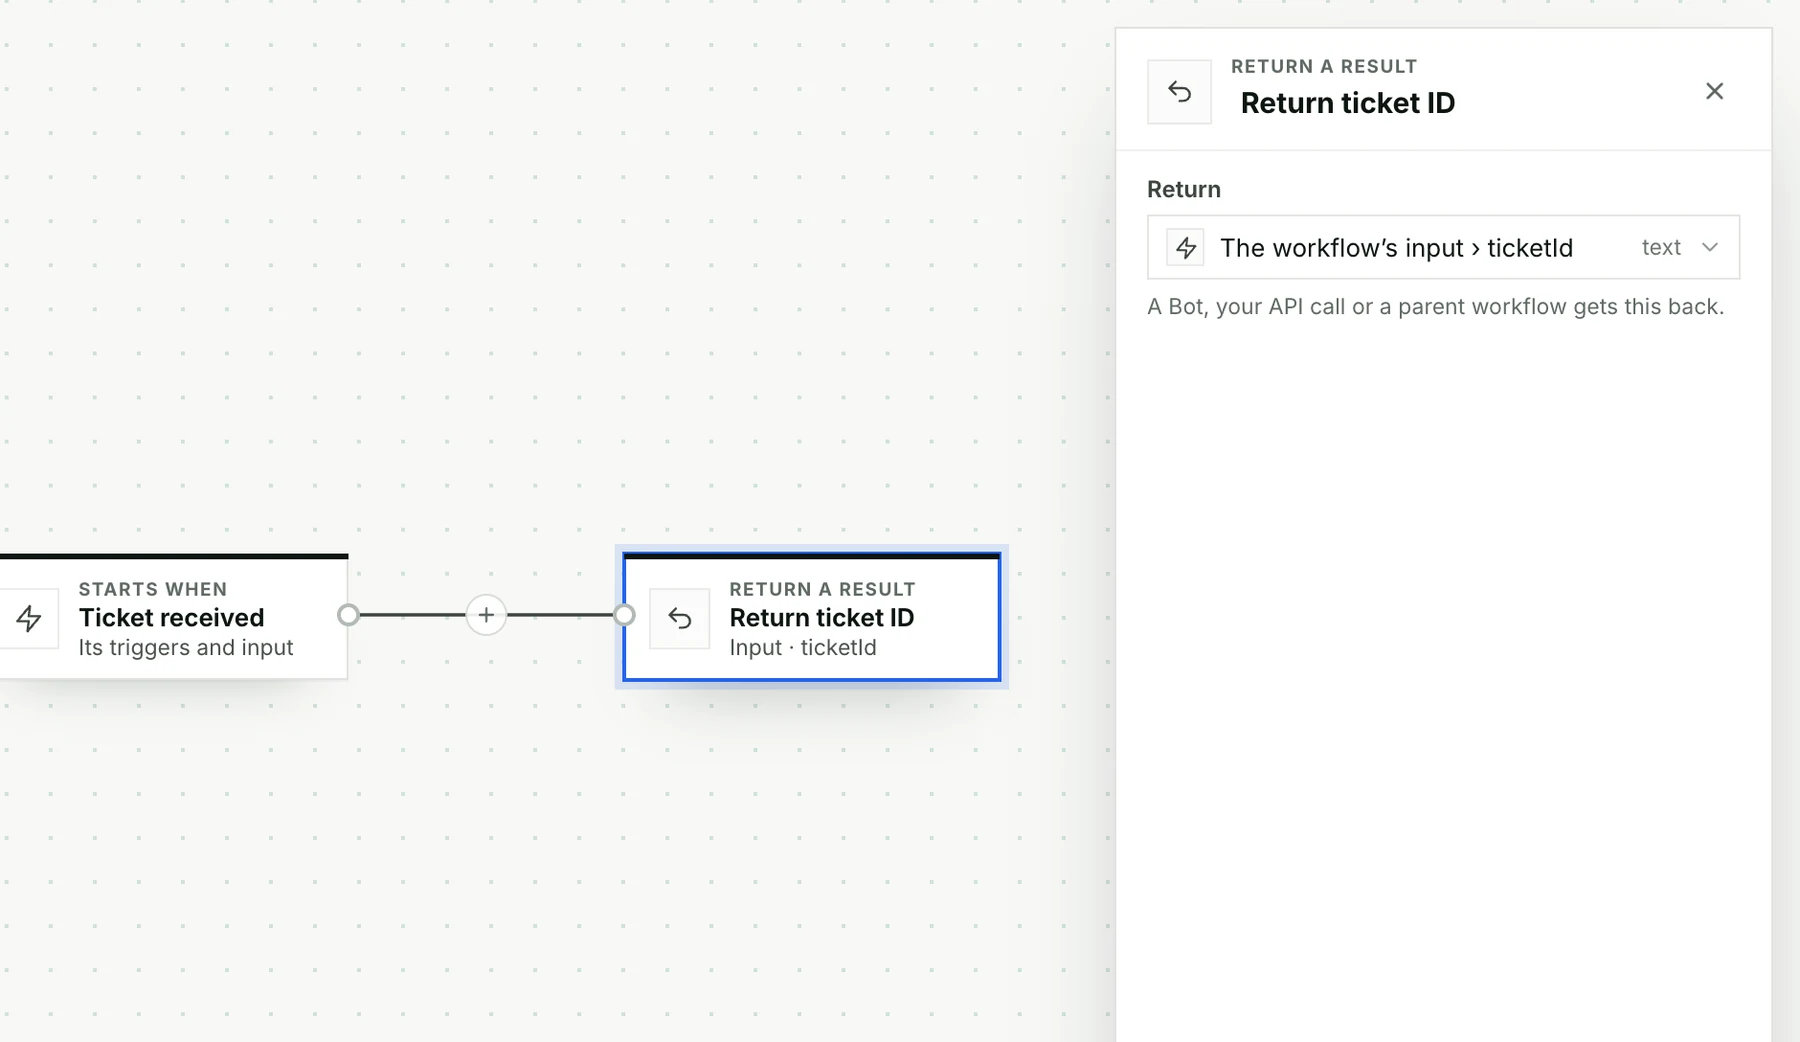
- In Return, choose The workflow’s input › ticketId.
Building manually makes no AI request.
Check the two steps
Click each step to see its settings.
Test it
Open Test and leave Live test off. Enter this input, then choose Run simulation:
{ "ticketId": "ticket-42" }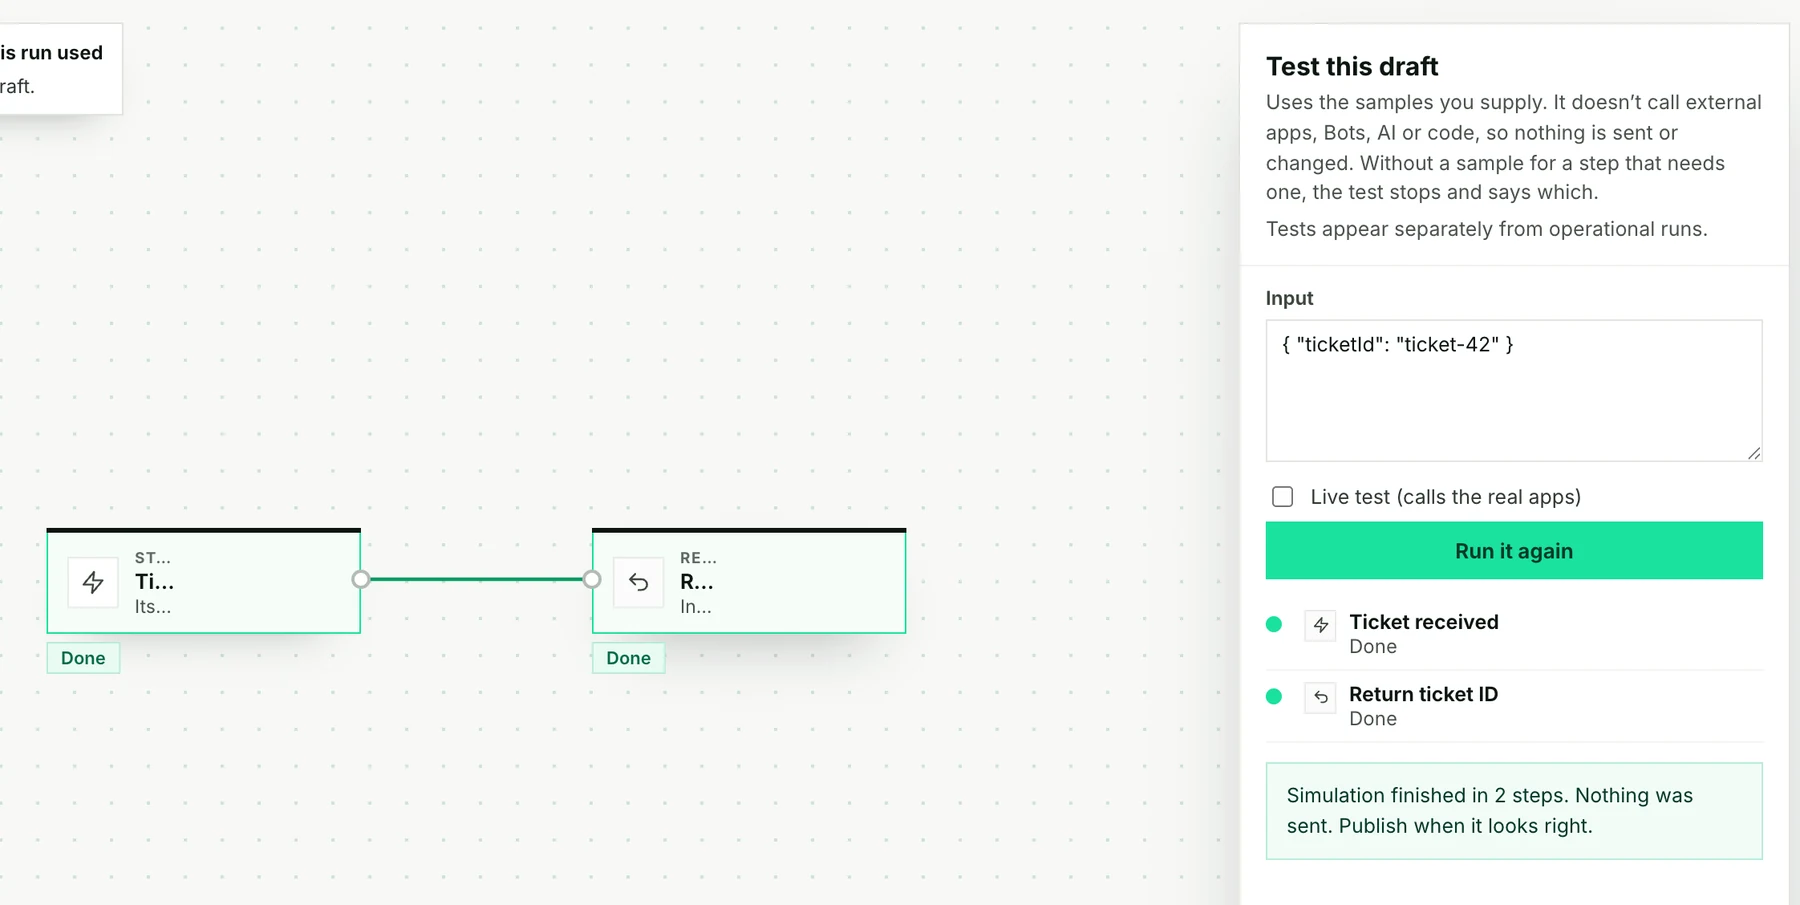
You should see both steps marked Done. The workflow returns:
"ticket-42"Publish
Choose Publish. The label changes to Live.

Publishing doesn’t start a run. Start it from your code, your AI app, or a trigger. Later edits go through Review changes → Publish changes.
Grow it into support email triage
Now describe a real process. This one uses Gmail, Linear, Slack, a published Bot and an approver, so connect those apps first.
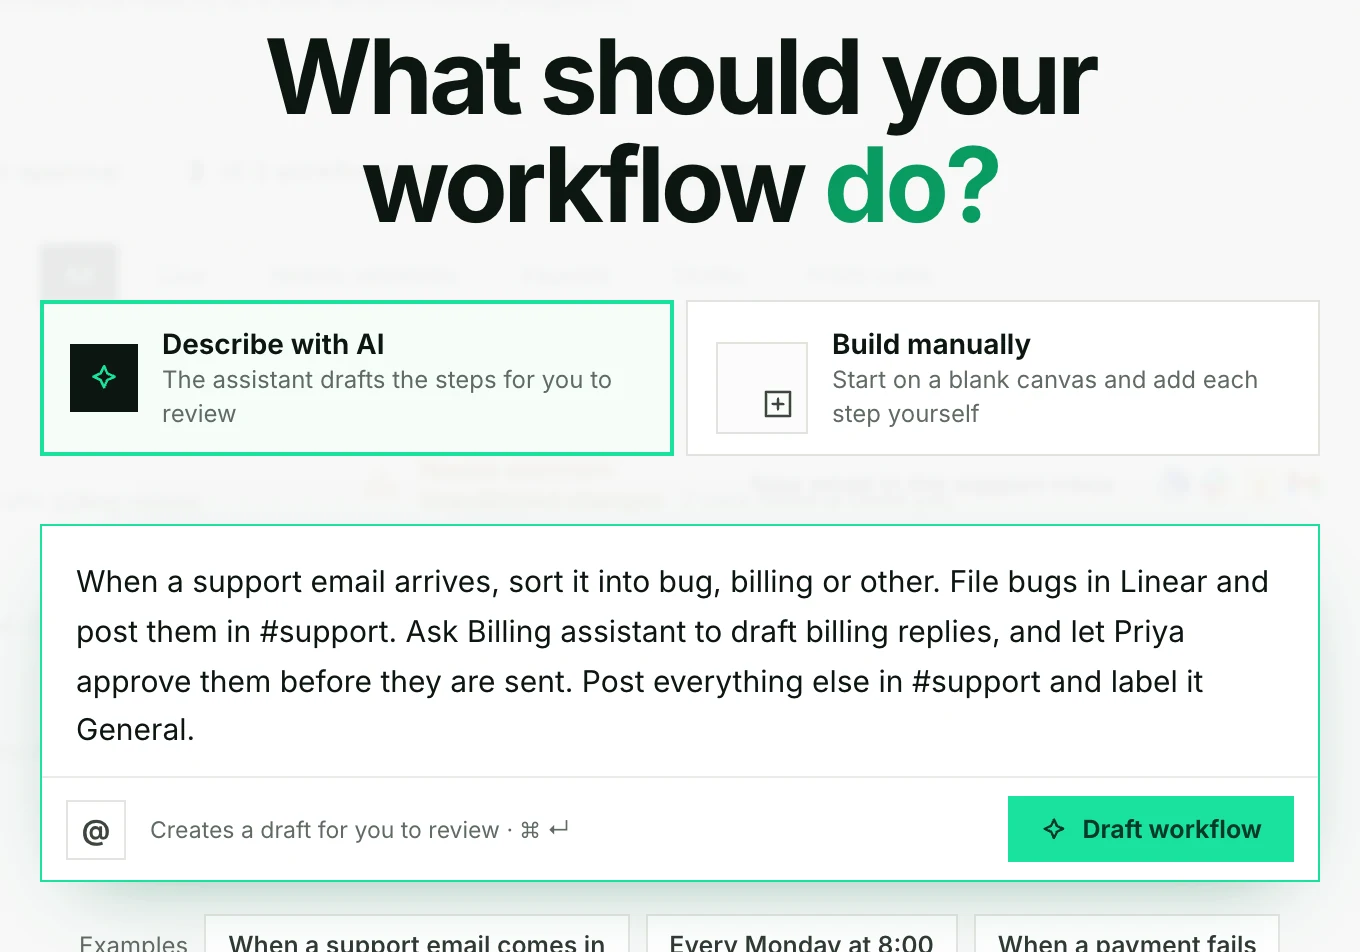
When a support email arrives, sort it into bug, billing or other.
File bugs in Linear and post them in #support. Ask Billing assistant
to draft billing replies, and let Priya approve them before they are sent.
Post everything else in #support and label it General.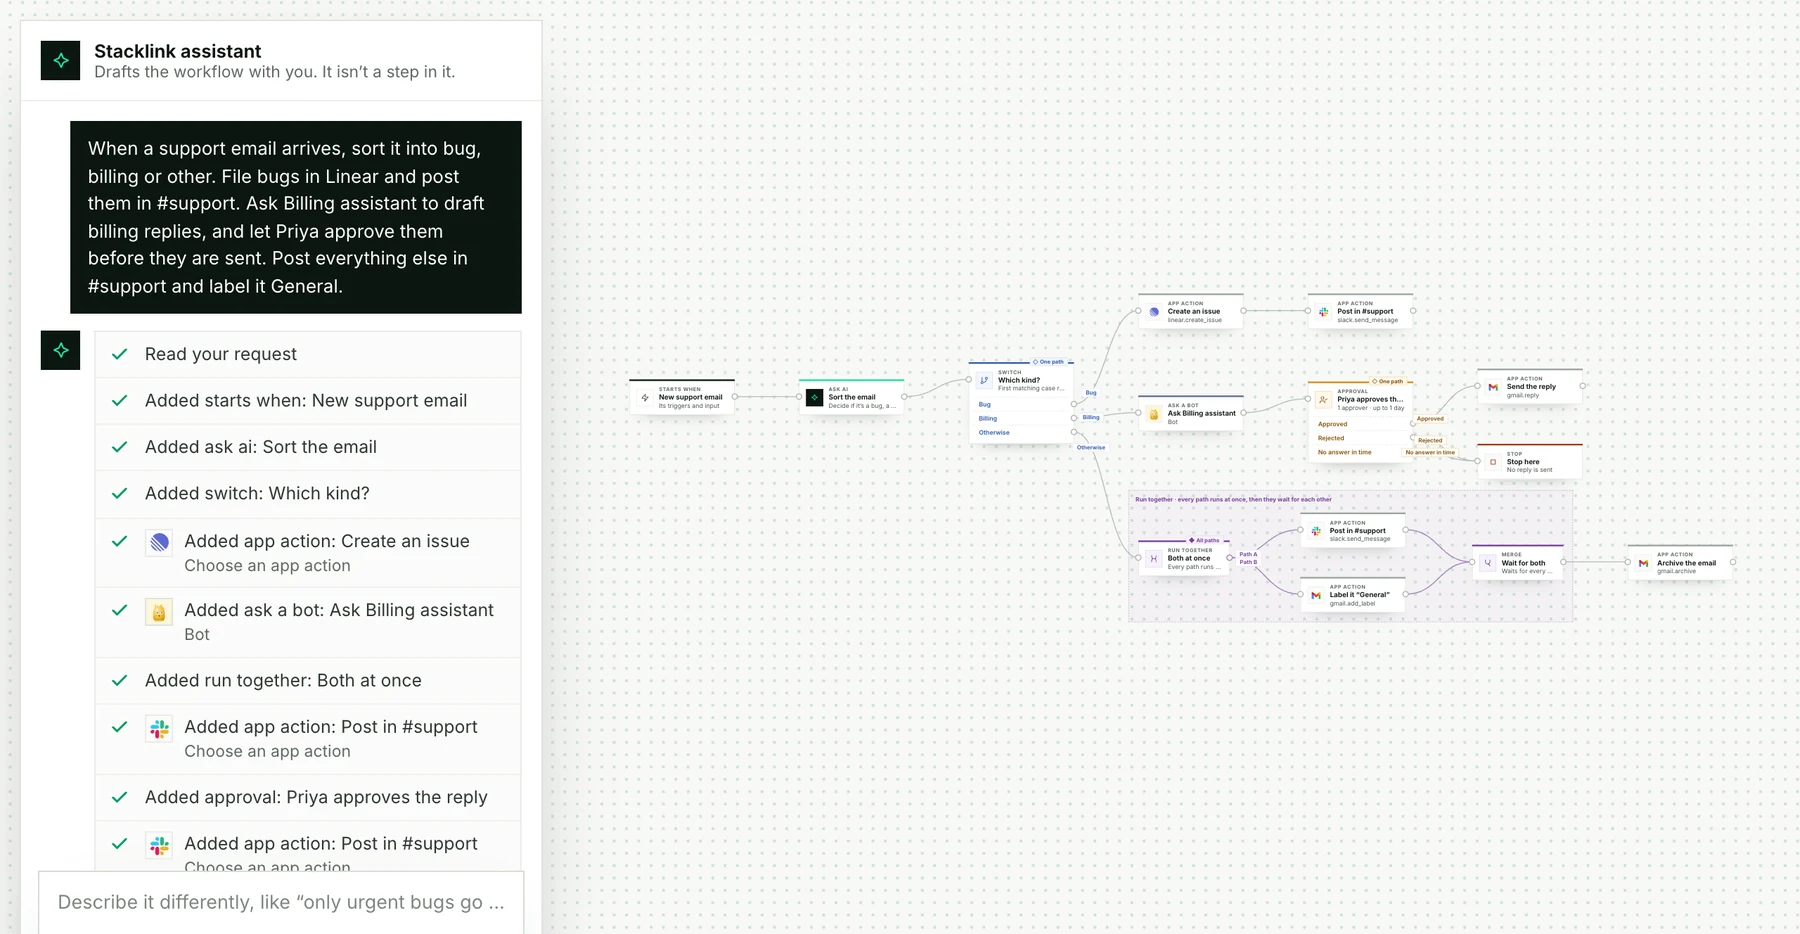
Then:
- Review the draft and choose Keep in draft.
- Finish each app step: App → Action → Account. Steps and data →
- Test it. A simulation needs a sample answer for each step that would reach outside Stacklink (here, eight). Add them under Samples, or run a Live test once your apps are connected. Test and publish →
Point to the exact app or Bot with @
Type @ in New workflow, Describe it or Ask AI, then pick an app, a published Bot, a workflow or a saved API. Stacklink uses that exact one, even if two have similar names.
A mention doesn’t connect an account or grant permission. If something can’t be used, the list says why.